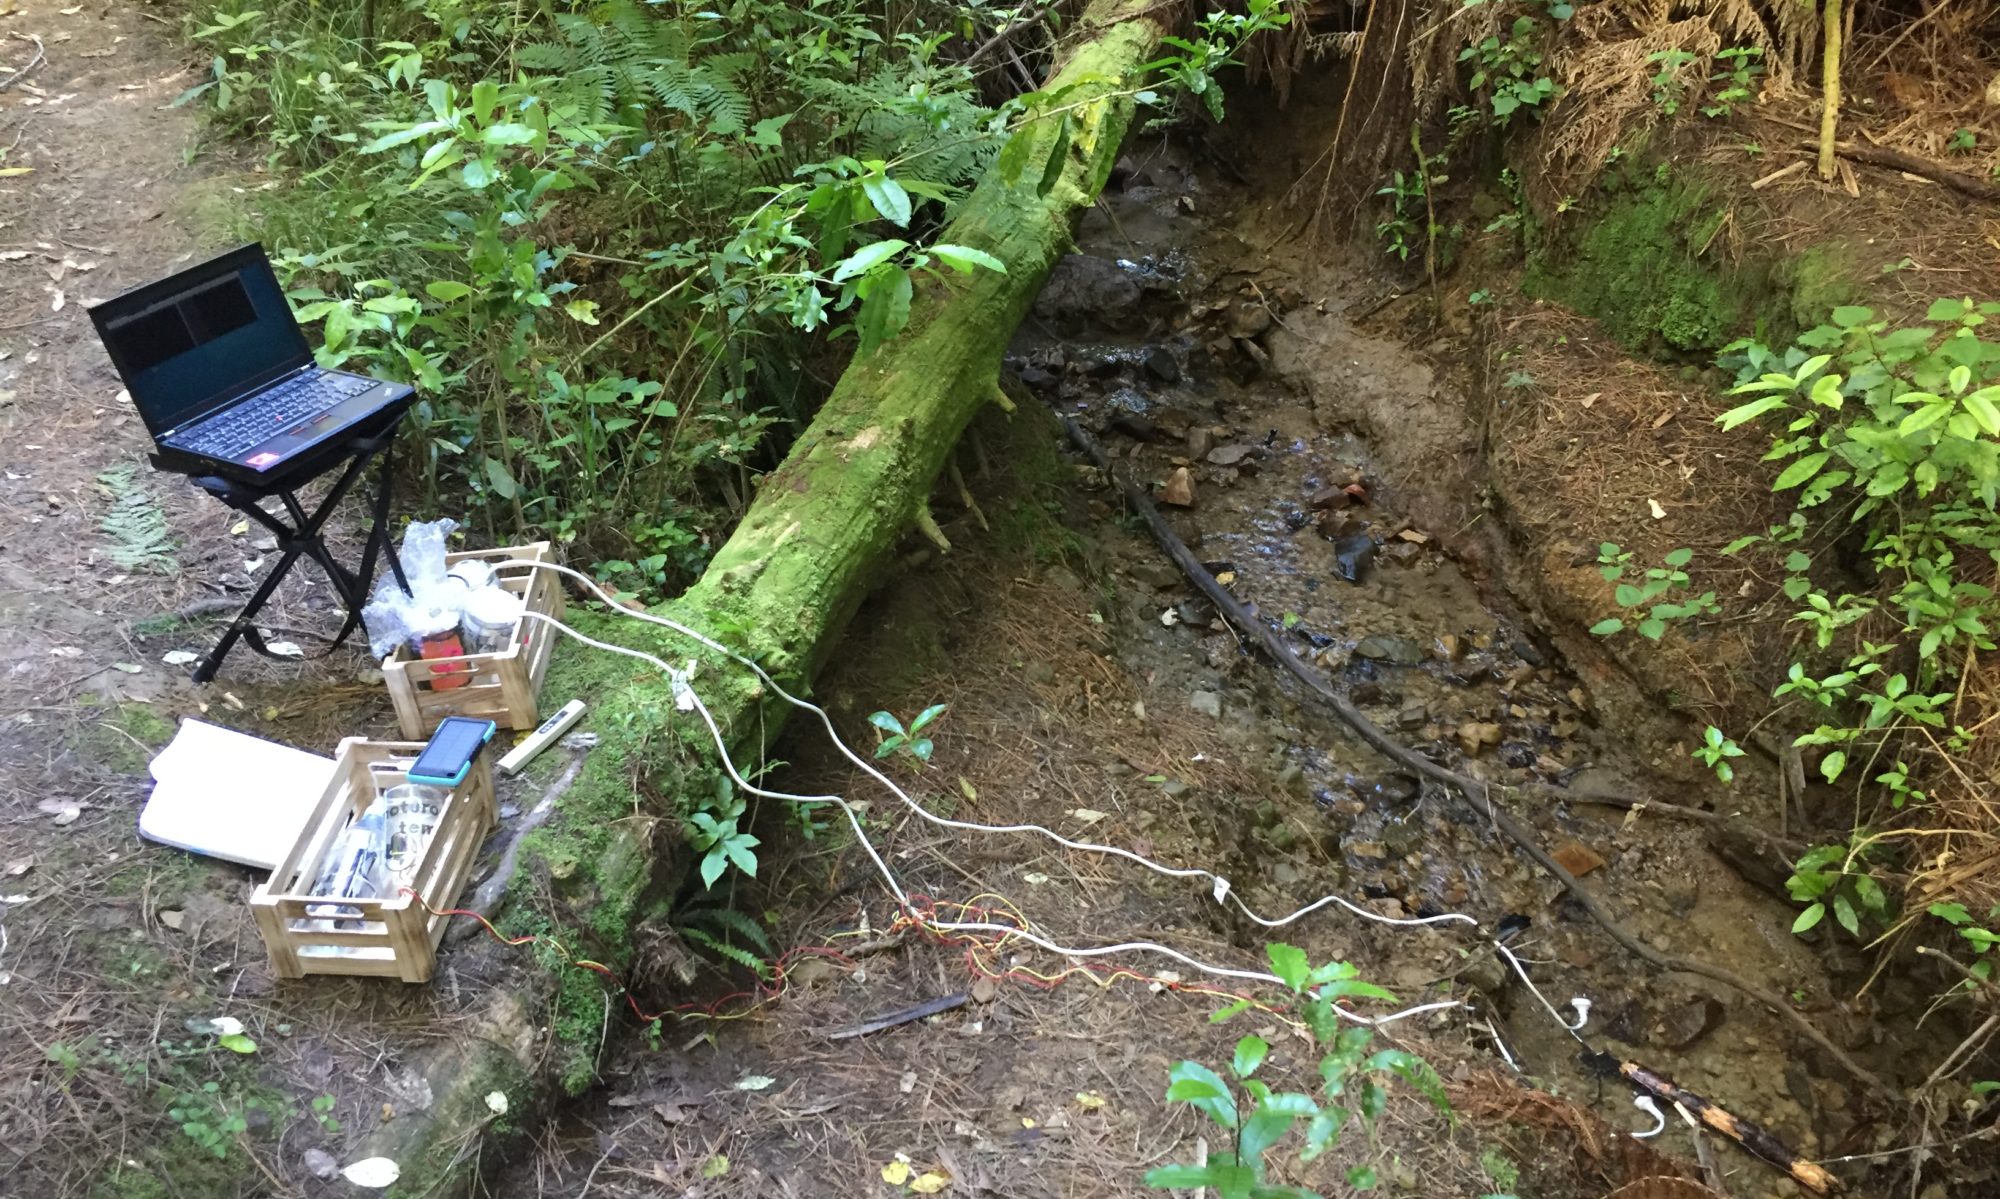
Several participants in my design evaluation interviews indicated the interest in having audio as a medium to access the stream sensor data. As a result of this, I looked at options to use the ESP8266 chip in combination with a simple audio interface. I found some research on using the Wemos D1 for sound applications, a previously purchased microcontroller, the Adafruit Feather Huzzah can be expanded with the Music Maker FeatherWing, which adds an audio interface with a headphone jack output which could be used as a standalone version in the field.
Setting up the Adafruit Feather Huzzah
The Feather requires you to install a USB-driver (USB to UART Bridge VCP drivers) to work with your operating system properly. Note: For this install you need to restart your computer.
The Huzzah is part of the ESP8266 board manager, which needs to be added to the Arduino IDE under via Arduino…Preferences…Additional Board Manager URLs…
If step one and two have been successful, the Feather should be ready to be programmed with the Arduino IDE.
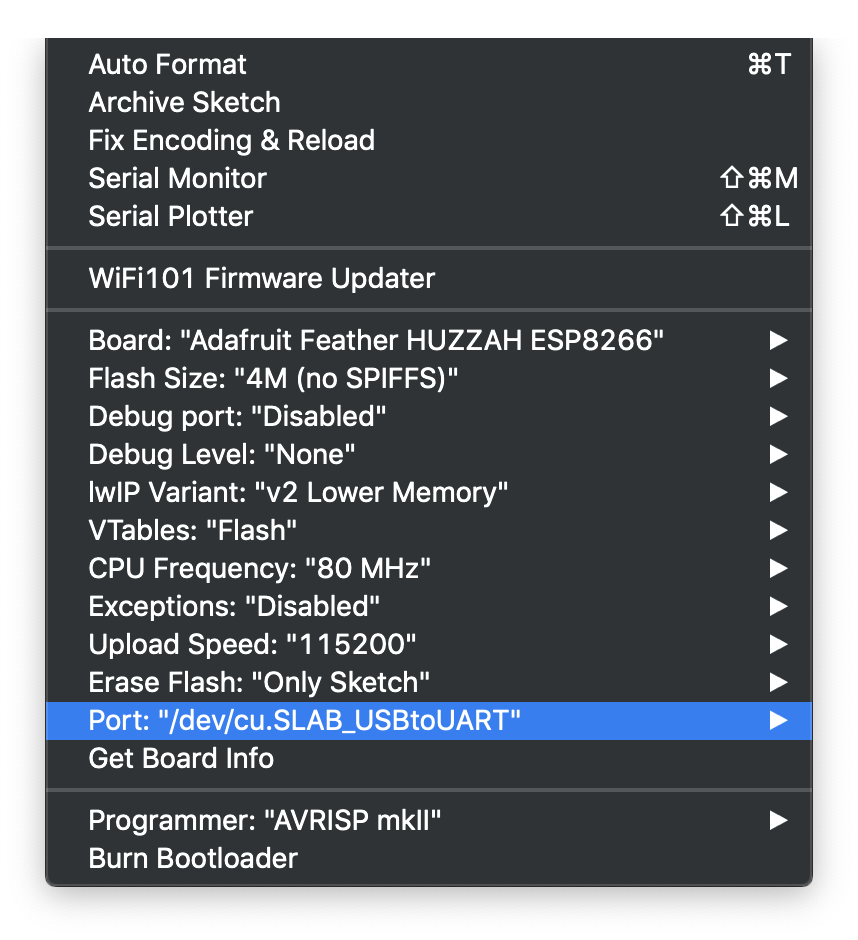
Arduino…Tools menu showing correct Board and Port to work with the Feather
Success. The Blink sketch is running smoothly on my Feather.

- Feather Huzzah running the Blink script
Equipment Cost
I have ordered the Feather ordered at an earlier stage of the research project, but decided in the and not to chose it as the chosen as a central component of my project, mainly because of the price point (currently $33.00pp vs Wemos D1 $10.00pp on nicegear).
The Musicmaker shield adds another $36.00 to the sum.
For a complete audio player setup, an SD card (to store the mp3 files) and headphones are required. The MIDI setup does not require the SD card.
Adding the Audio Shield
Once the Musicmaker arrives I need to install some software as described in the guide by lady ada (2018):
- Install the library for the Adafruit VS1053 Codec Breakout (lady ada, p.13).
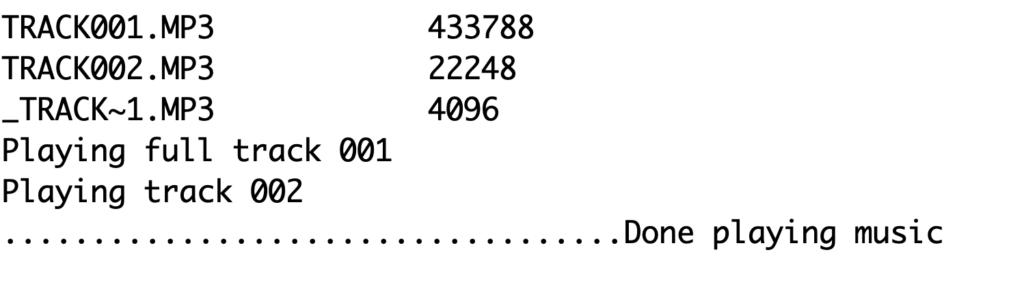
- Test the example code feather_player with two mp3 files on the SD card.
- Solder the MIDI jumper on the bottom of the board together and test the MIDI example.
So far so good.
Now I need to connect the Feather to my MQTT network and have audio play triggered by a callback.
After some fiddling with the code, I manage to play the test Ocarina scale from the example code when the EC sensor and the water temperature sensor transmit data across the network.
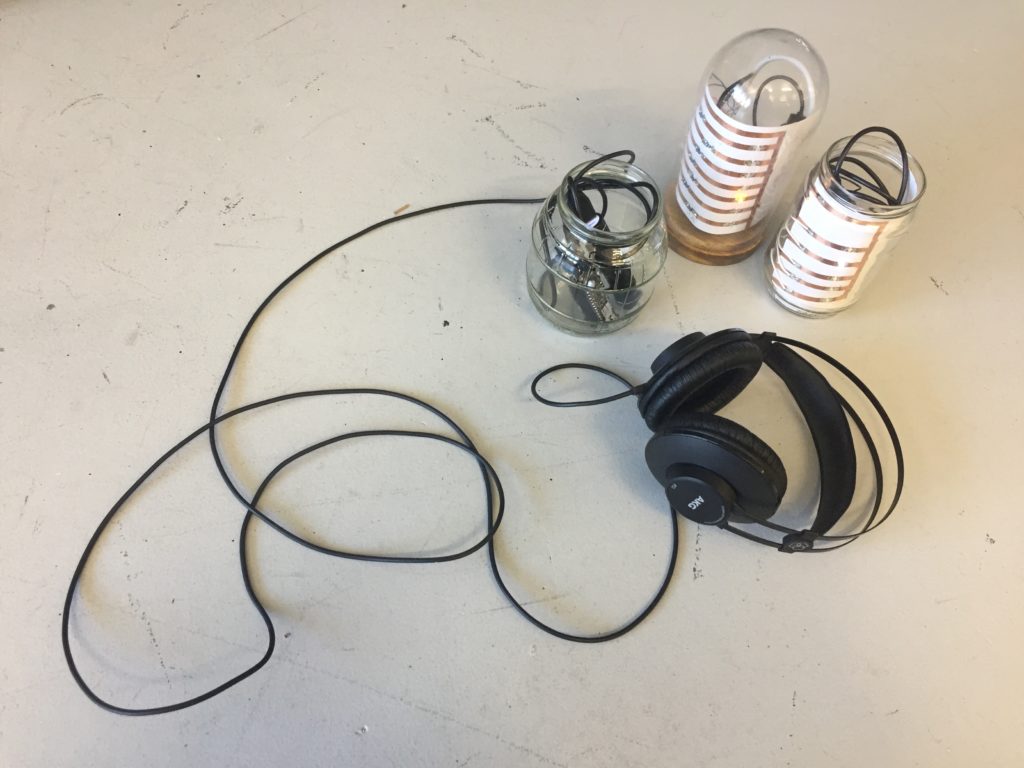
The audio jar stands now among two visual outputs. While it offers a different mode of access to the stream data, it also breaks with the convention of having one-on-one relationships between input and output nodes.

I also need to consider if the jar casing is the best choice for this node, and how an audience would access the data in the field. The node could be a hidden audio jack that participants can plug their headphones into, or headphones can be provided. Alternatively, I could use a small speaker to play the sound output and make the experience accessible to multiple users at the same time.
The opportunities for this extra node need to be tested and evaluated in the field.