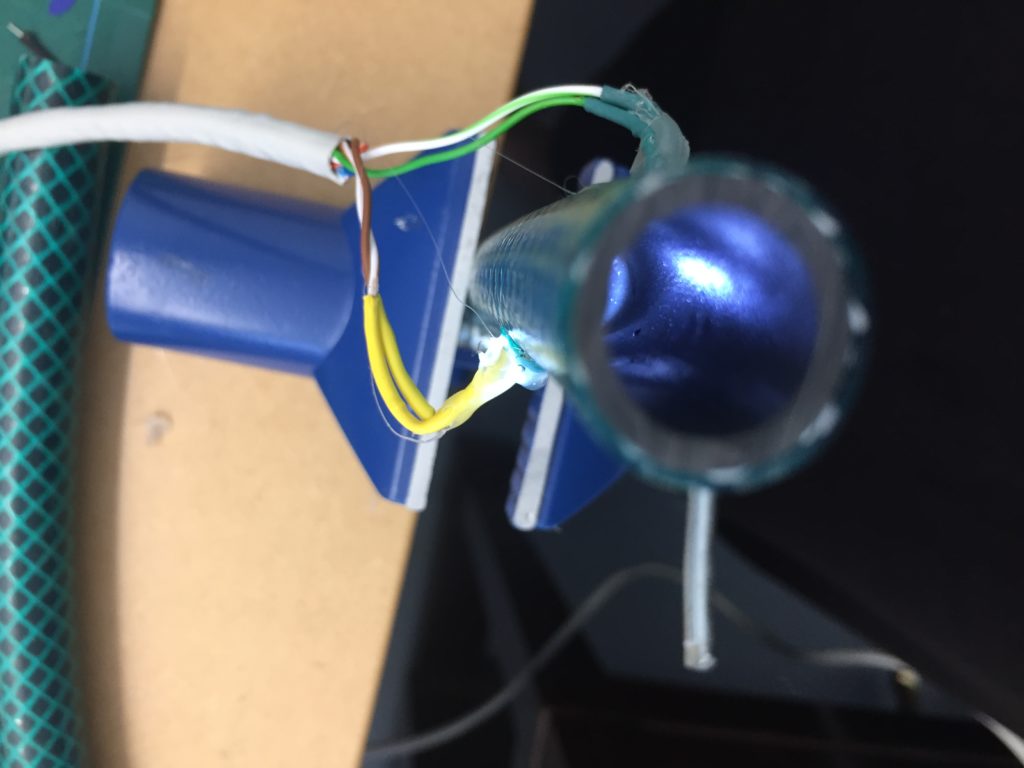
In the first turbidity node design I re-used leftover plastic of one of the bottle designs as the circuit carrier and copper tape for connections. This proved to be tricky as the heat during soldering would distort the plastic and dissolve the glue of the copper tape, making it lift off the surface and weaken the connections.
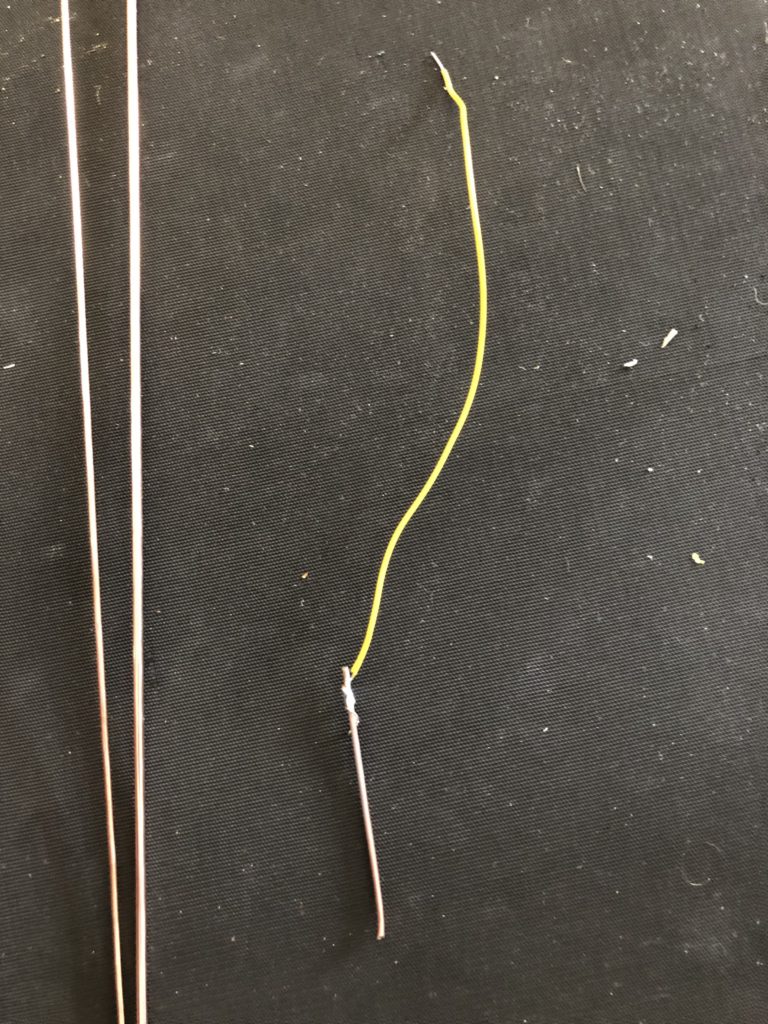
In a new attempt to provide a seamful design, this new prototype uses copper coated welding rods and copper wire as conducting elements and at the same time as structural element. This means the circuit would not require a surface, such as paper or plastic, but would only consist of conducting copper elements. For a first test I used a 1.2mm rod and experimented with soldering various wires and components to the rod. Soldering wire to the copper rod works well after removing the oxidation layer with sandpaper. The enameled copper wire also only solders well after sanding, which is time consuming when many components are involved. The advantage of this, however, is that the 3 dimensional circuit is less likely to be short-circuited, if parts accidentally touch – except for the conductive elements of the LEDs and the solder points.

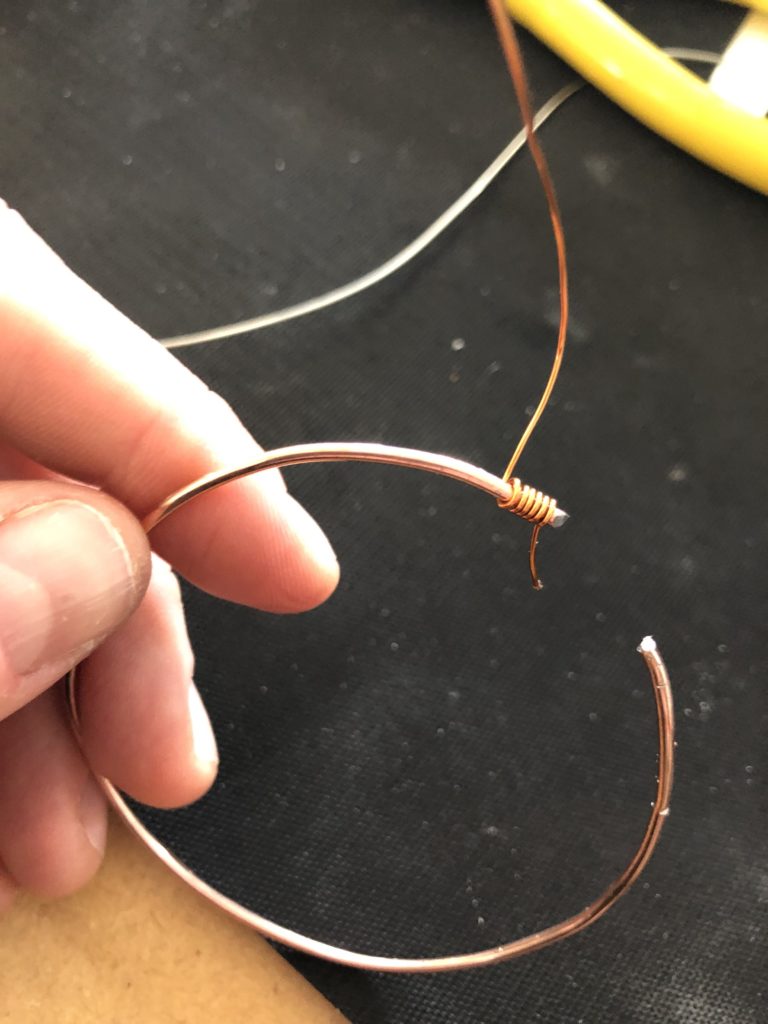
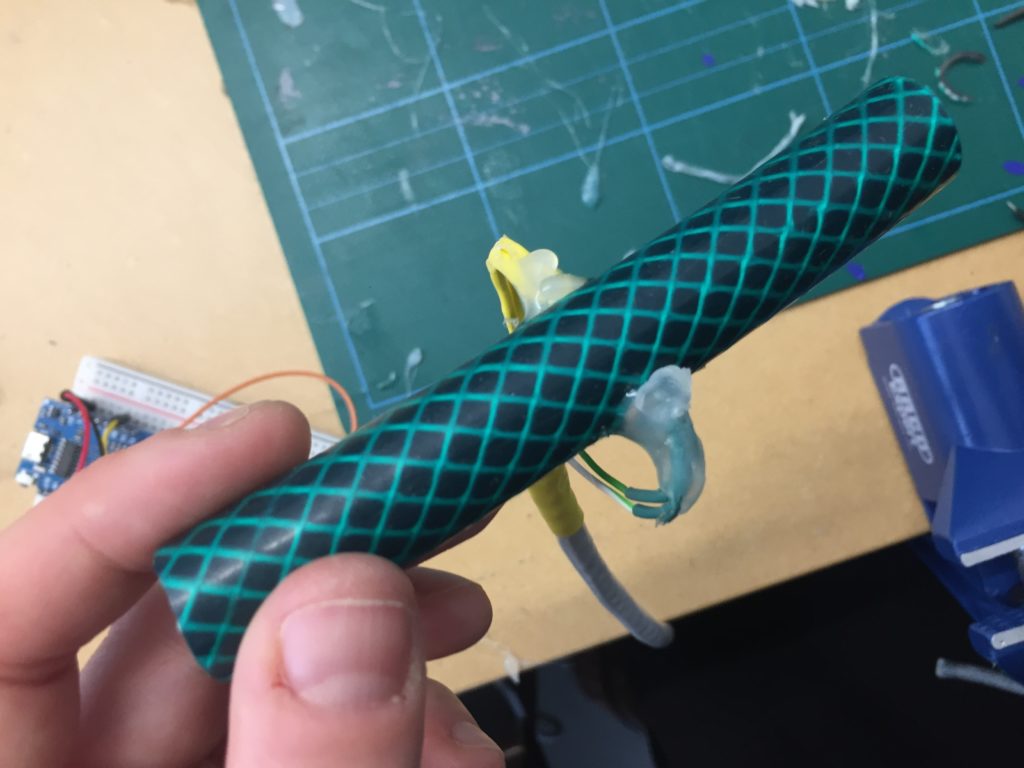
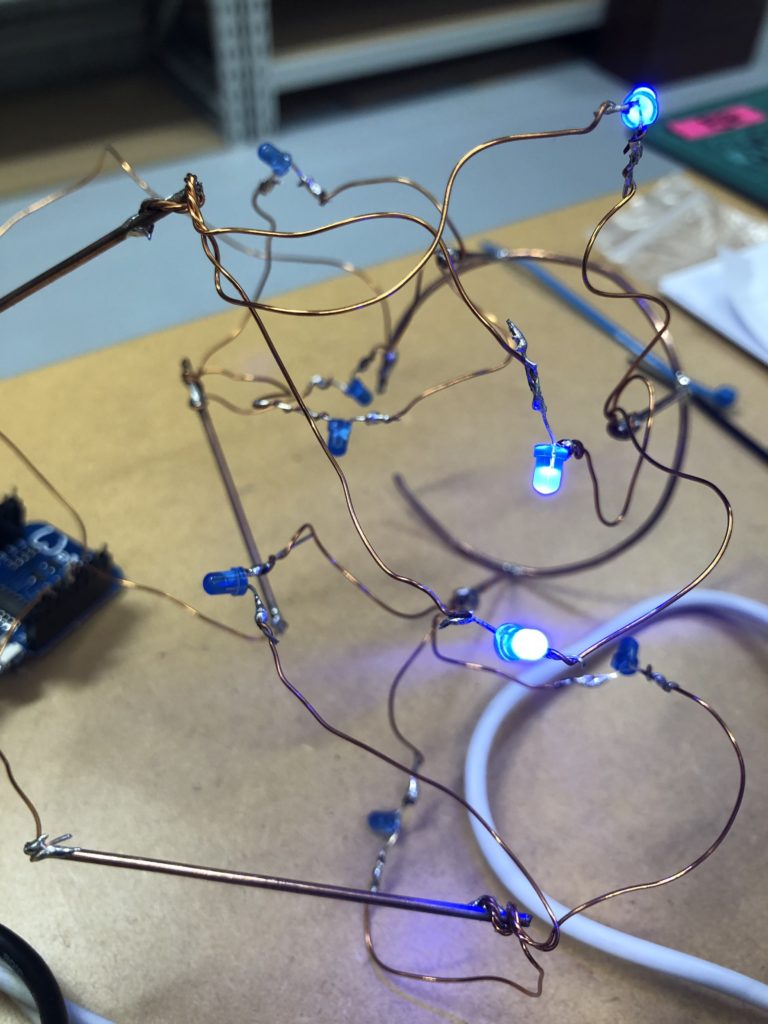
I envisioned the test design to contain a set of 3 addressable LED sets that fit inside a glass jar. I bent the Ground wire into a circular shape to act as a base for the circuit which will connect to a set of LEDs to be controlled by a Wemos D1 board. After a hopeless attempt to use SMD LEDs for this circuit I found that 3mm LED diodes are much better suited for this kind of circuit.
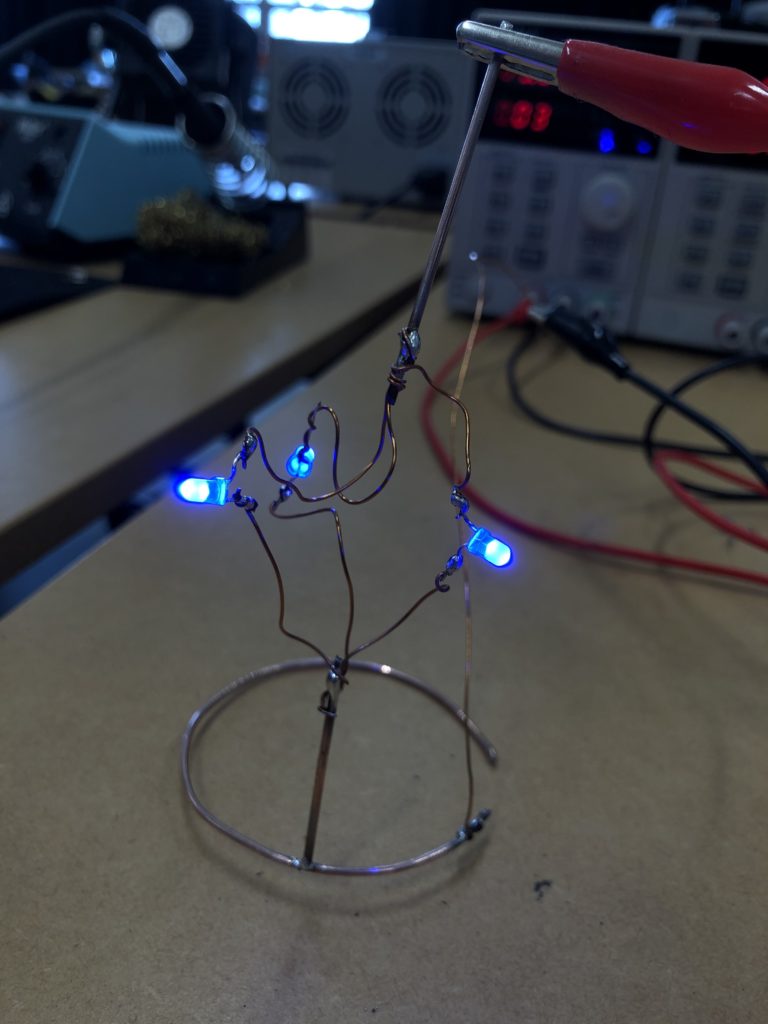

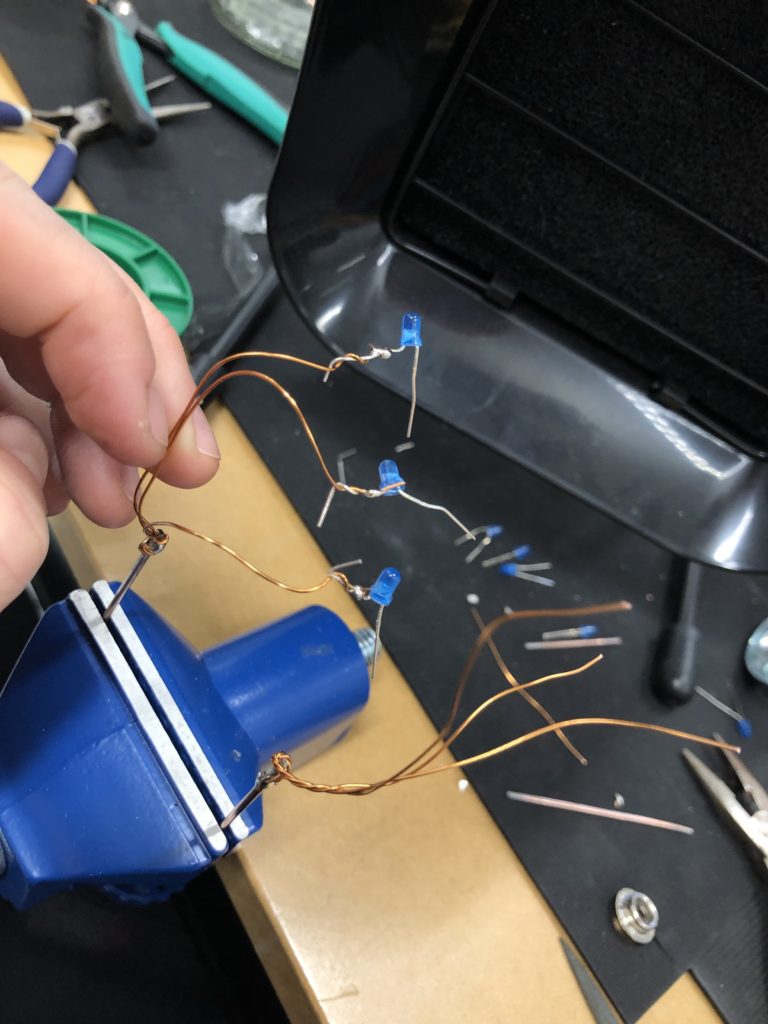
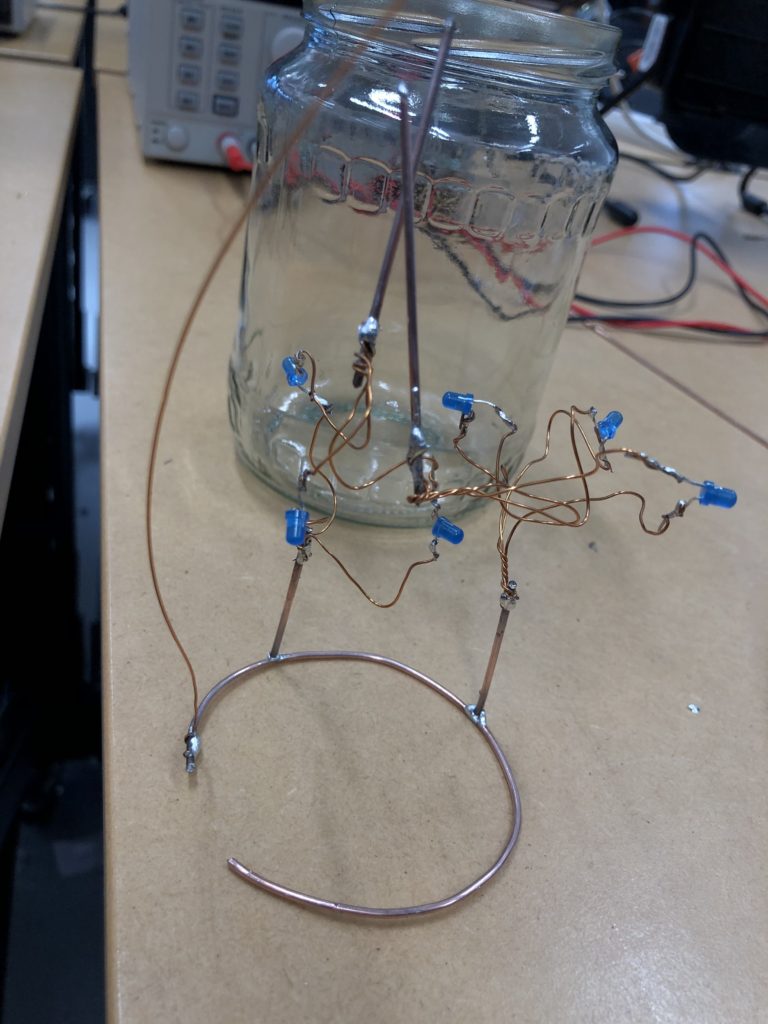
In the end, I connected a set of three LEDs to three individually addressable wires. The copper rod needs to be bent carefully with flat pliers while the copper wire bends into shapes very easily. This gives the final circuit a quite messy look and I am unsure the design in this form would be suitable to provide any meaningful visualization of the turbidity reading.

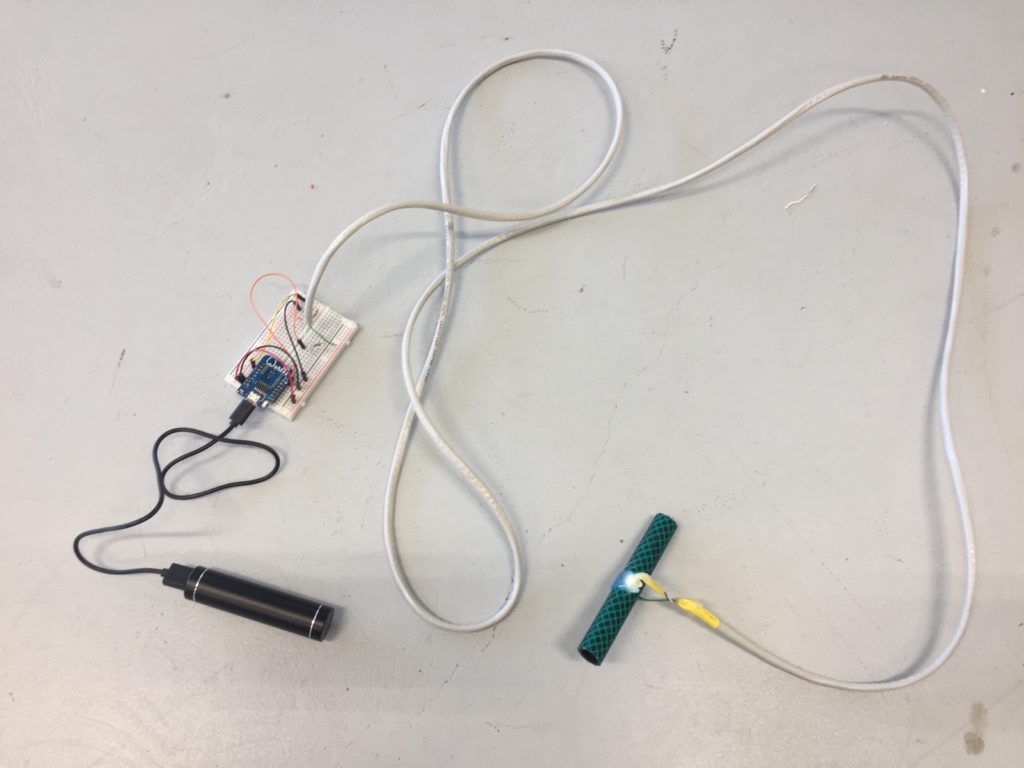
The circuit appears quite fragile, the copper wires can be bent and crushed in the hand which gives it quite a unique aesthetic when handheld. Once transferred into a glass jar, the intricacies of the circuit design fade into the background, and the bright blue LEDs, as well as the battery and the small circuit board, distract from the fragile wires. I programmed the board with a simple test sketch that loops through the three LEDs.
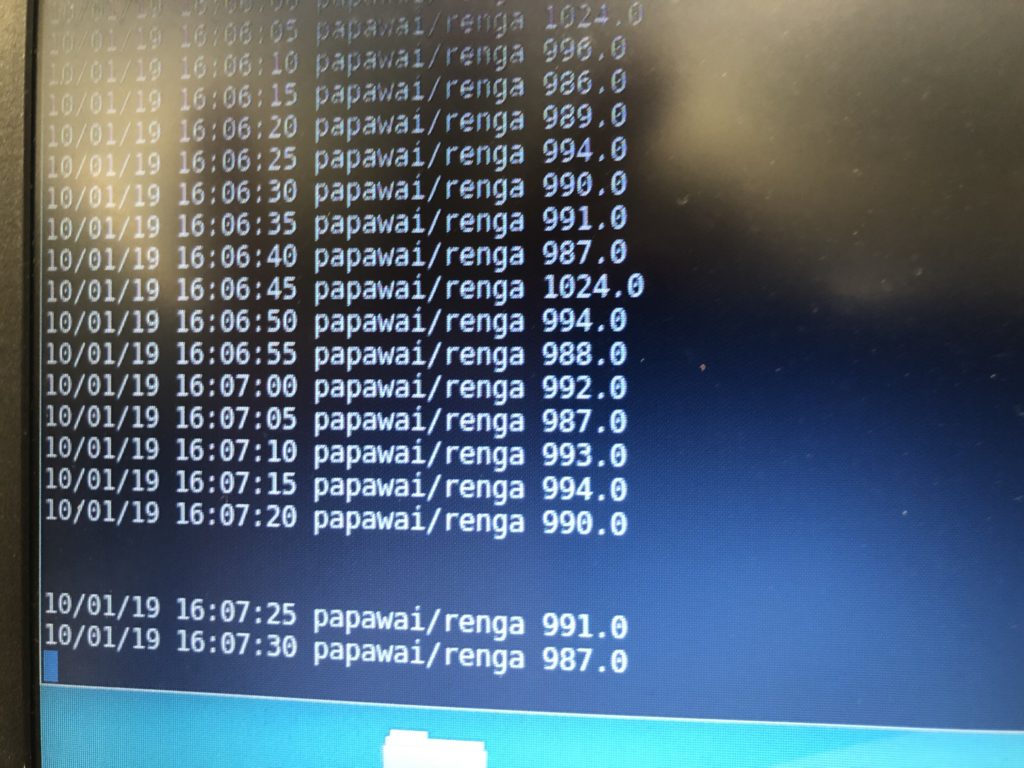
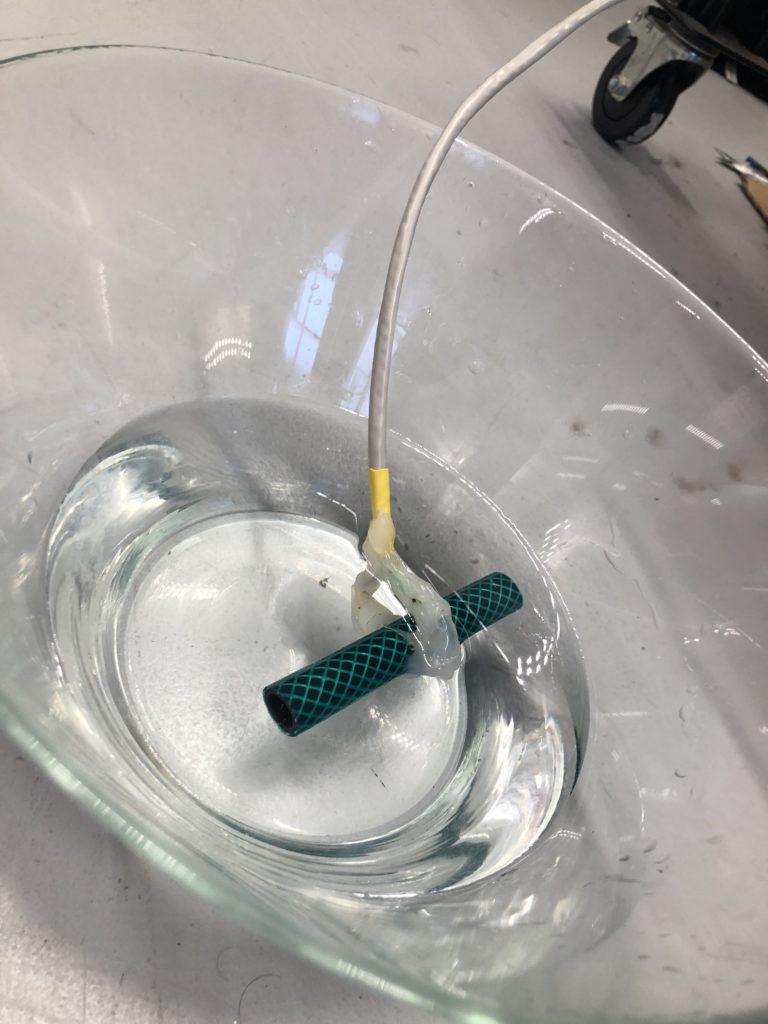
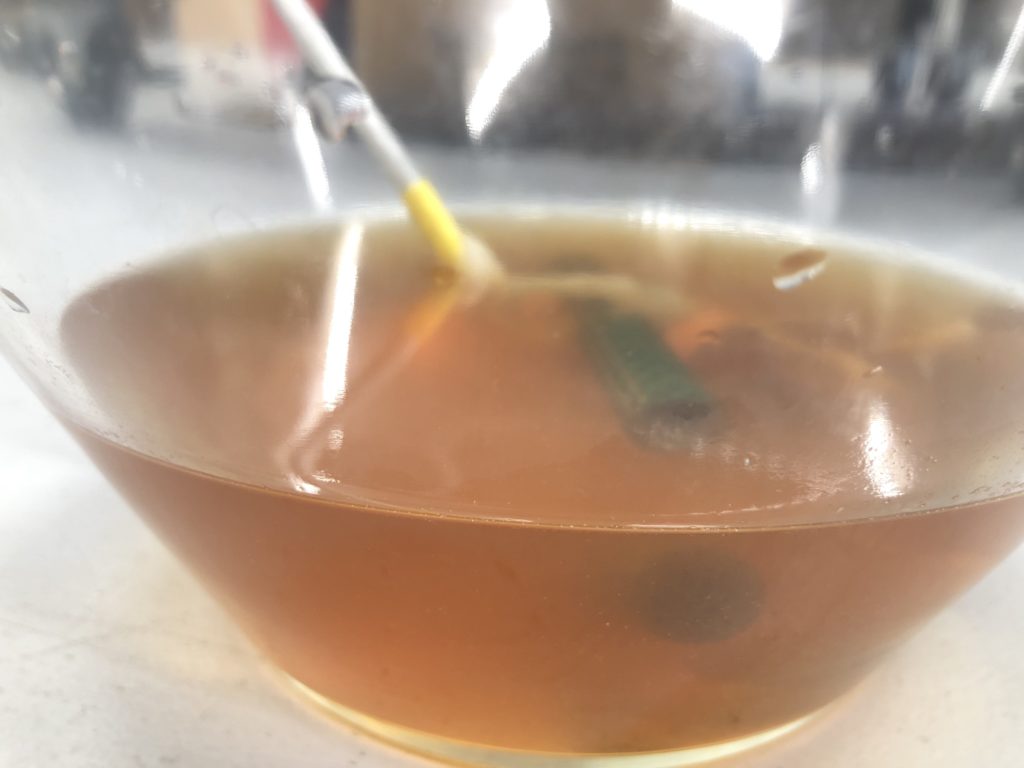
The next step involves connecting this design to the turbidity sensor through my local MQTT network. I submerge my turbidity sensor into a glass bowl filled with water to get more realistic sensor data readings for this test. Unfortunately, the circuit design appears to be tricky to be programmed, and only after a while am I able to successfully de-tangle the wires that must have short-circuited somewhere, causing the code to malfunction and print nonsensical glyphs in the serial monitor when I try to debug my code.
Once my LED node is properly connecting to the WiFi network and correctly receiving the sensor data I map the turbidity to the amount of LEDs being switched on. To achieve a more murky fluid for this test I add a teabag to the water. I notice that the value changes are not as extreme as i would have hoped for and assume that a different resistor, perhaps a trimpot, would help to get more accurate data. Another issue with the sensor data is jumpiness. This could be because the LDR is just not suitable for an accurate measurement, or perhaps the sensor design is not waterproof and hence unreliable. Perhaps the code could be improved by measuring a running average over a couple of miliseconds, instead of measuring the brightness only once sand immediately transmitting this data.
Despite issues with the quality of sensor data, I learned a lot about the feasibility of this circuit design. While the copper wire gives the circuit a unique, messy look that I generally like, it is unsuitable for providing an easily understandable visualization of sensor data. Using only copper rods in combination with 3mm LEDs could work with a refined sketch on how to accurately map the sensor reading to an