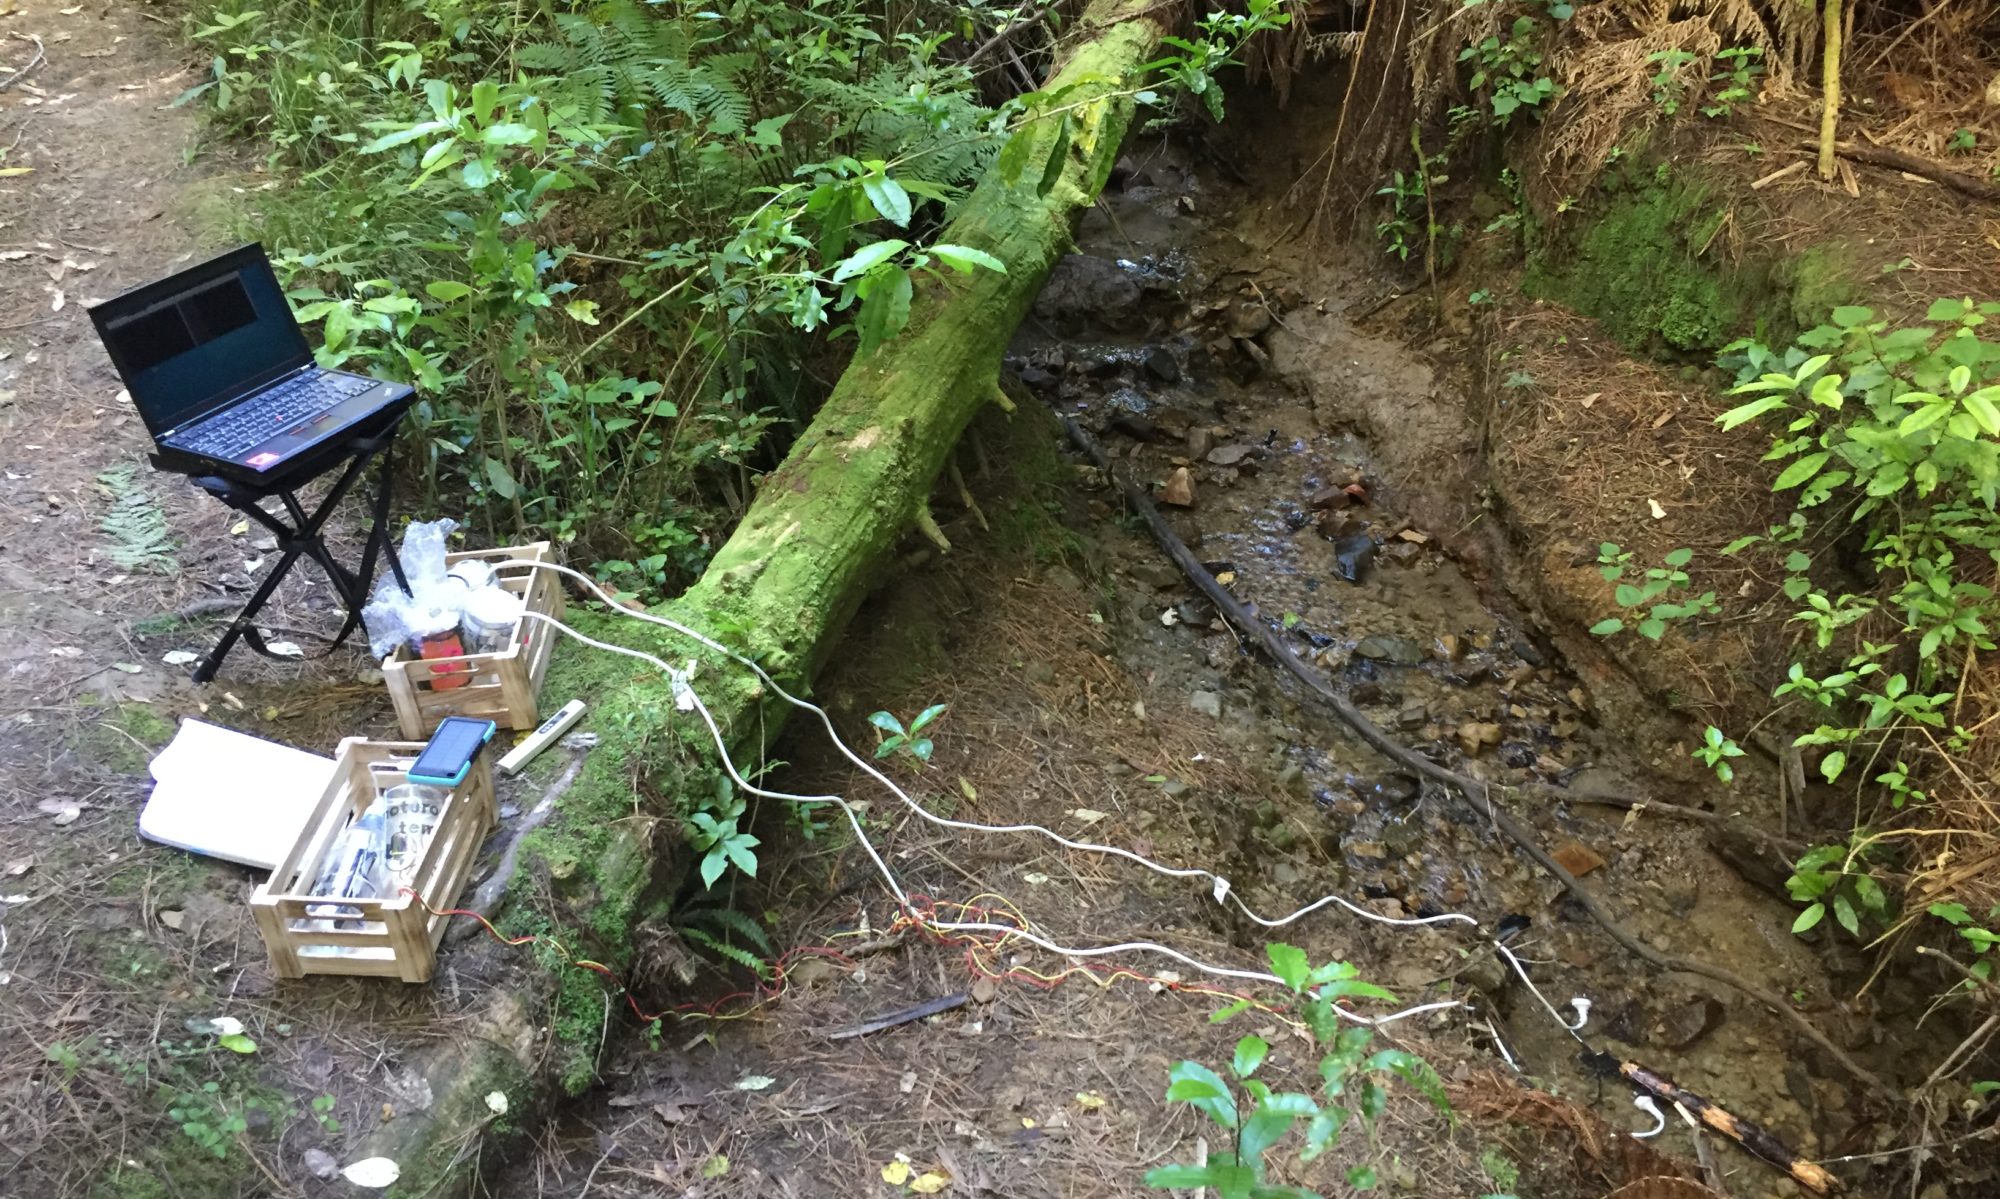
Asked for what kind of sensor they would like to see added to the kit, participants indicated the interest to know more about the clarity of the stream water.
The SHMAK kit (see for example NIWA, 2008) also features the measurement of water clarity either with the Clarity Tube the Black Dish method. The training guide states that
“What you are looking for in your clarity results is any change over time. If there is a change to more turbid, then you then need to look for reasons.” (NIWA, 2008)
Hence a probe constantly measuring the clarity of the water appears to be a useful addition to the sensor family.
Research on other DIY turbidity sensors:
donblair (2015) provides a good overview of turbidity, “how it’s usually assessed, and various approaches one might take to measuring it.” The Open Water Project Github repository features comprehensive documentation of their turbidity sensor design.
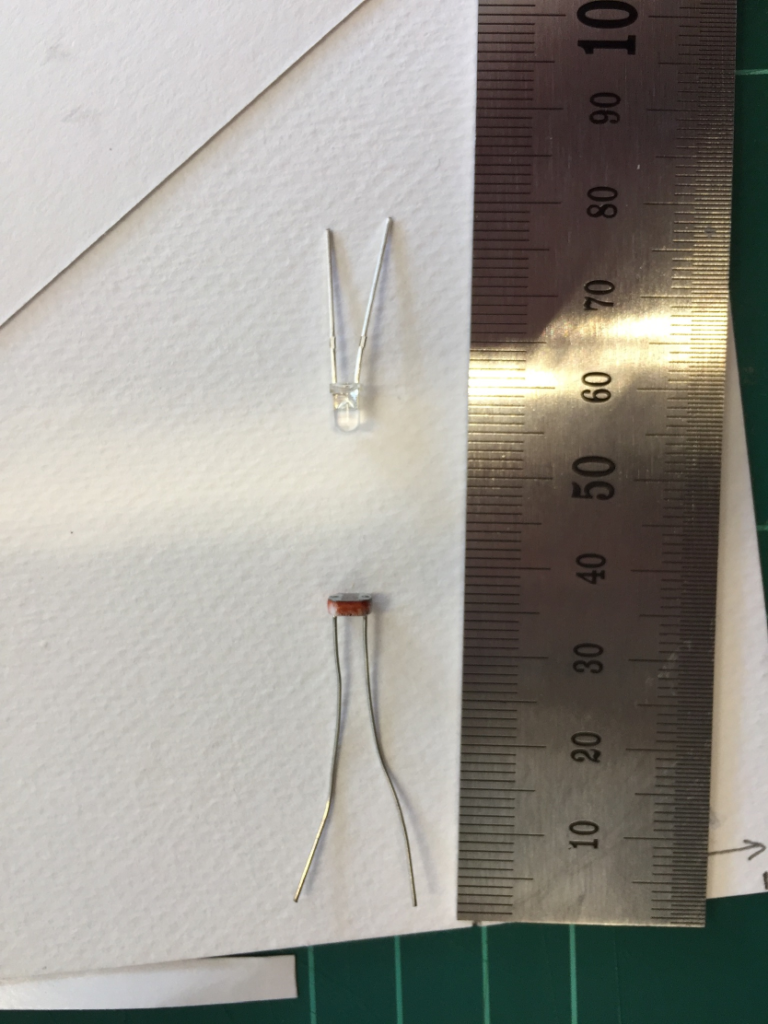
The most simple DIY design involves only two components, a light source aimed at a light-sensitive photocell (see for example Marchetto’s design as described in donblair (2015). With all components (an LED, an LDR and various resistors) at hand in the lab, the next step involves considering different enclosures and ways of waterproofing the components. An option suitable for Papawai Stream needs to work in relatively shallow waters and should obstruct the natural course of the stream as little as possible. Hence, a tube with a diameter of around 1-3cm, akin to the usually shallow depth of Papawai Stream would be a good first iteration of a prototype. The tube should be dark to minimise ambient light impacting the sensor readings.
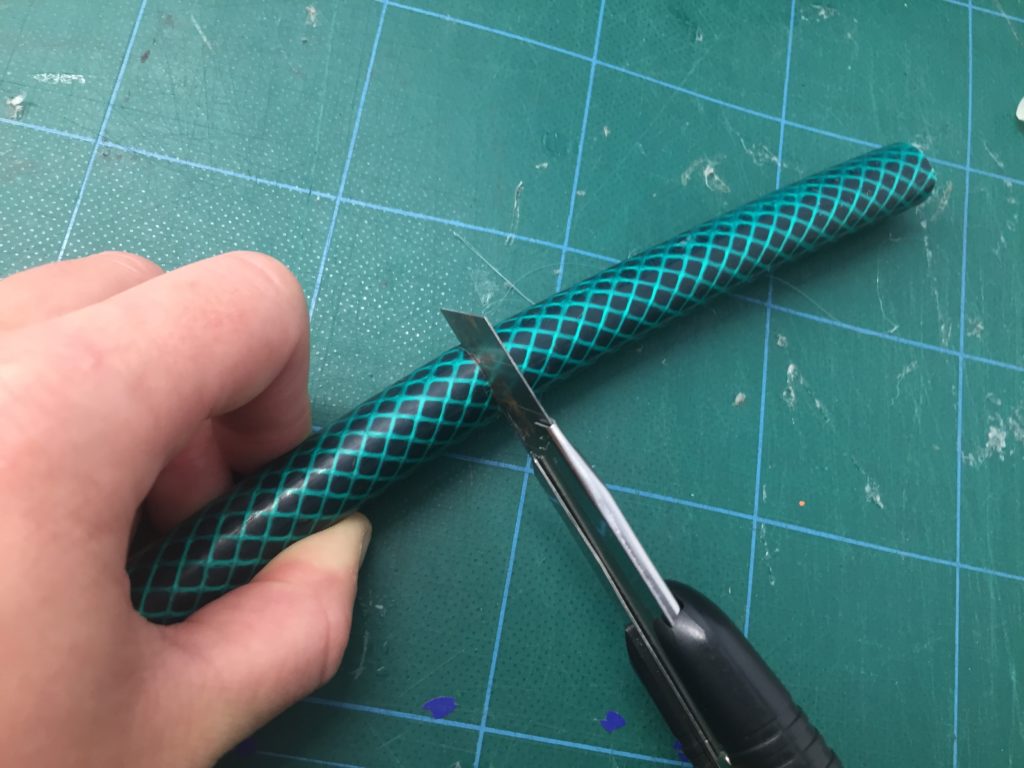
Prototype 1: Garden Hose enclosure
A relatively cheap and easy to recycle material that is suitable to be used in water is a garden hose. For Prototype 1, I use a piece of garden hose of about 10cm.
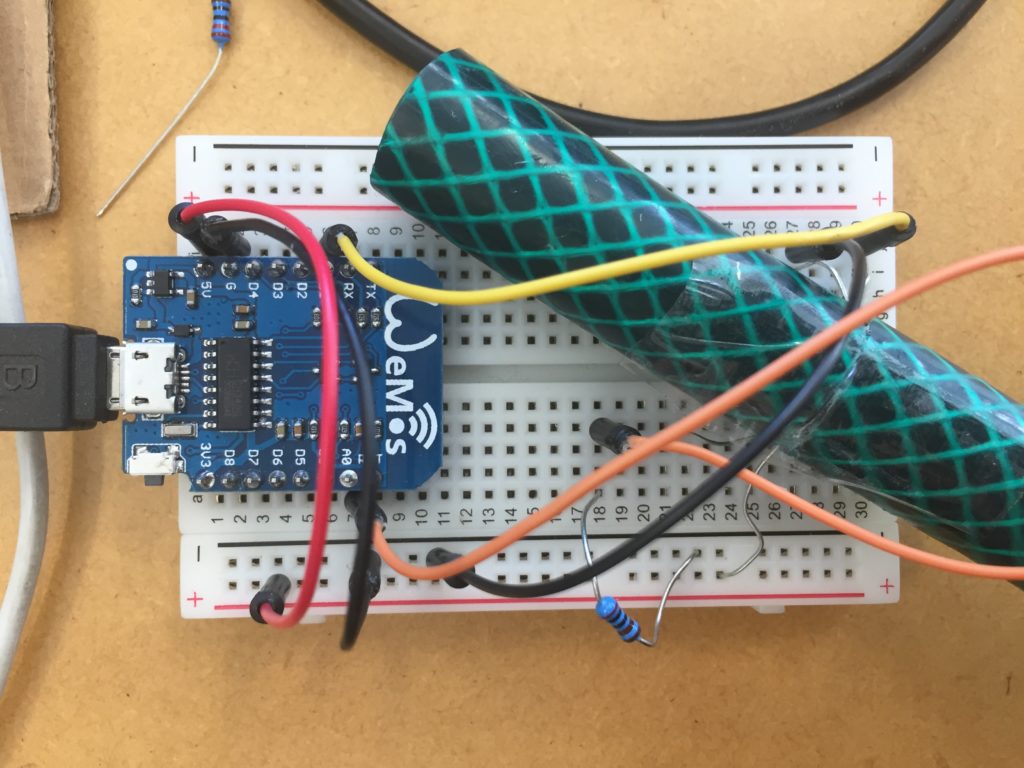
First I connected the LDR sensor and the LED on a breadboard to test the sensor readings via Serial. The Arduino code used for this version of the prototype can be found here.
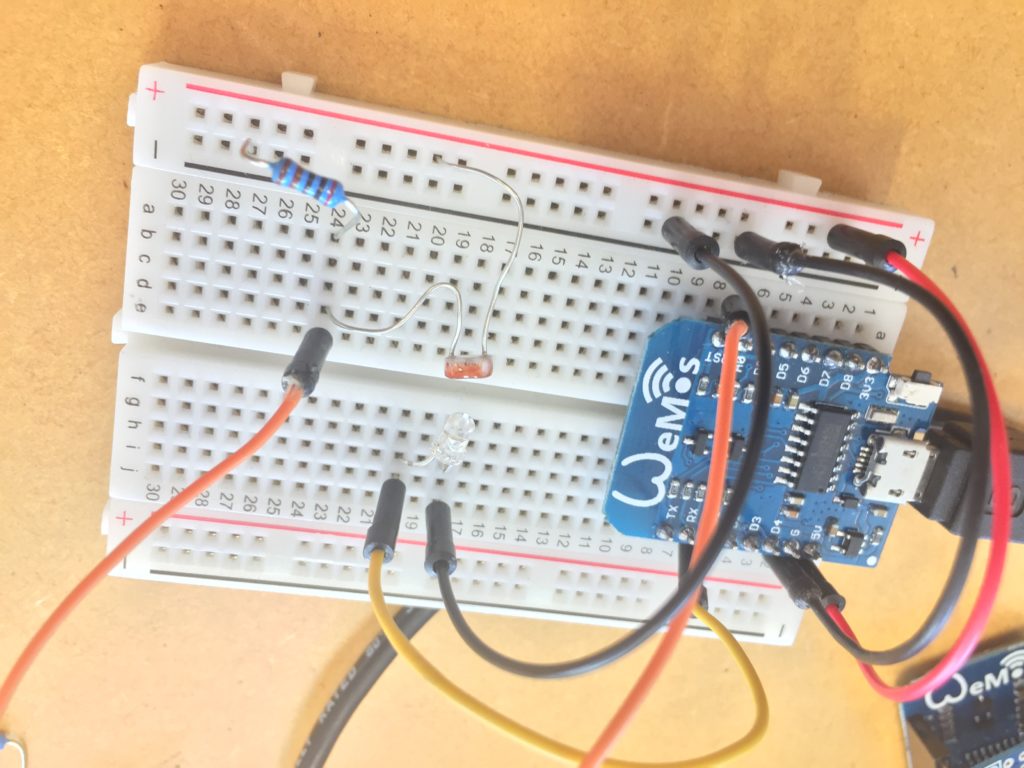
It turned out that a 2K resistor for the LDR and a relatively low brightness value for the white LED shows a consistent change in the tube.
analogWrite(ledPin, 64);
These values are good enough for general testing of the design and will likely need to be adjusted to the conditions in the field.
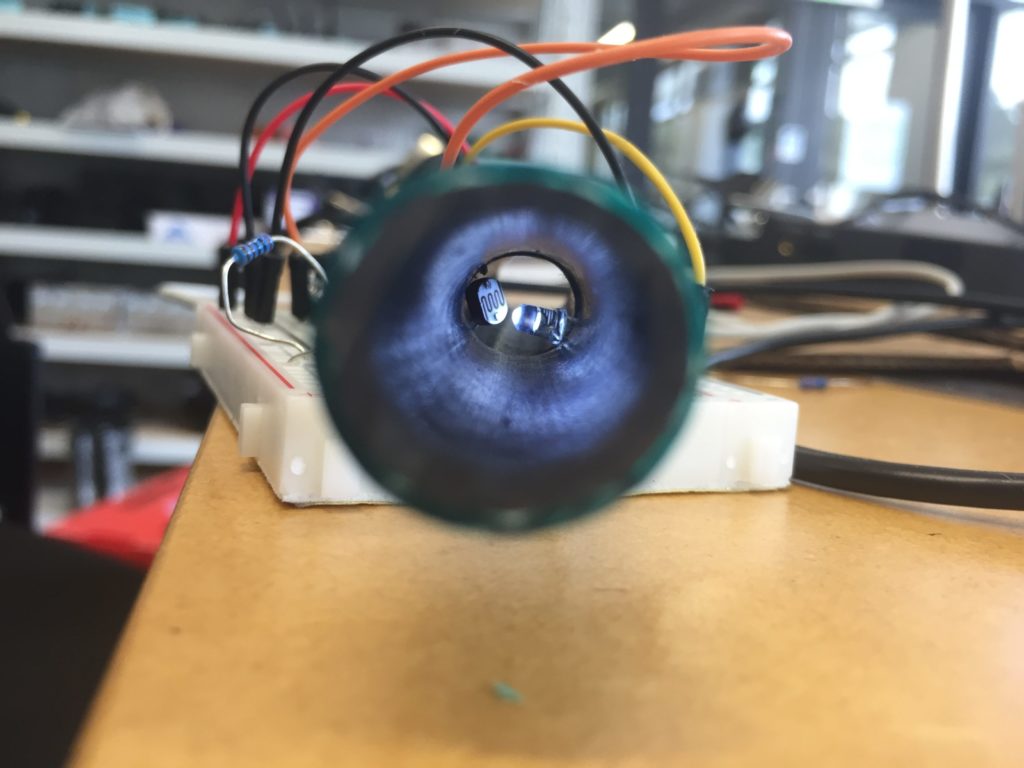
I cut the hose in half to position the components inside and used transparent sellotape to attach the two halves back together. This design generally worked but required some work making sure that the electronics don’t short circuit.
The next challenge is to waterproof the design. For this first iteration, I chose hot glue to seal the exposed wires of the components, similar to Marchetto’s design (as cited in donblair, 2015, see image).
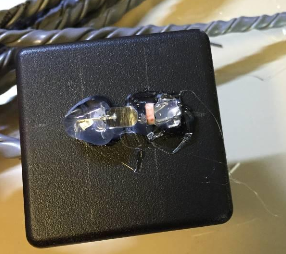
The four wires sticking out of the submerged part of the sensor need careful waterproofing. While hot glue generally works, it runs the risk to break once set. A flexible waterproof sealant would be safer.
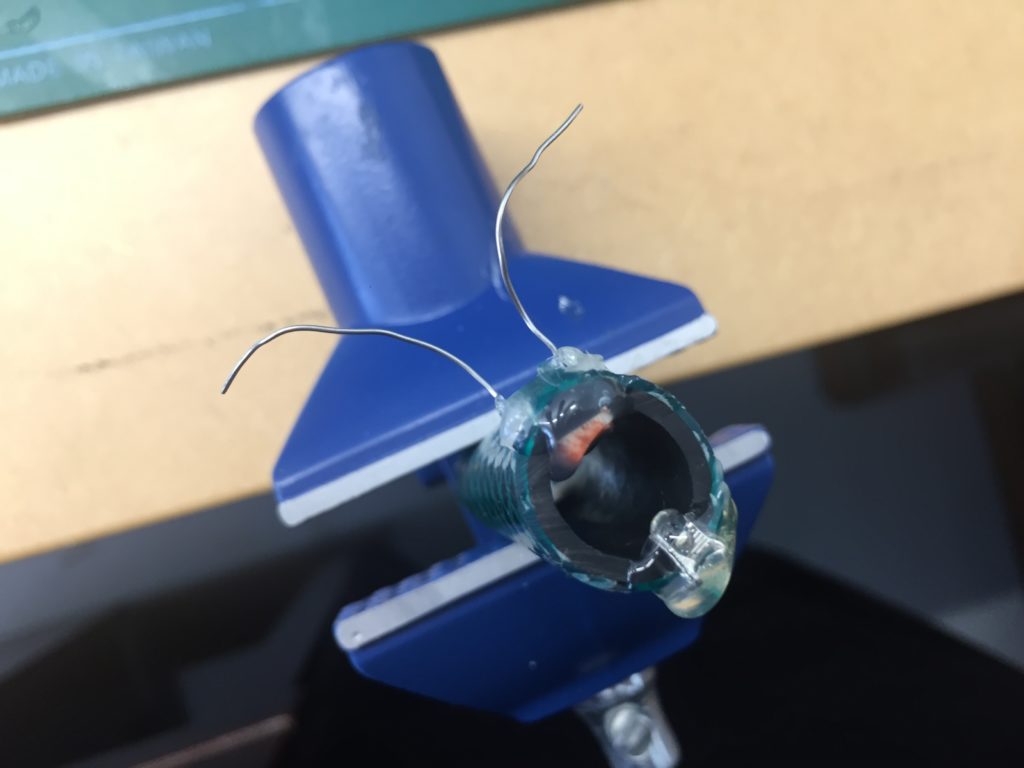
I will redo the design with proper cables connected to the sensors for more safety and the ability to test the sensor submerged in water.
Component List:
Hardware:
- Computer with USB interface
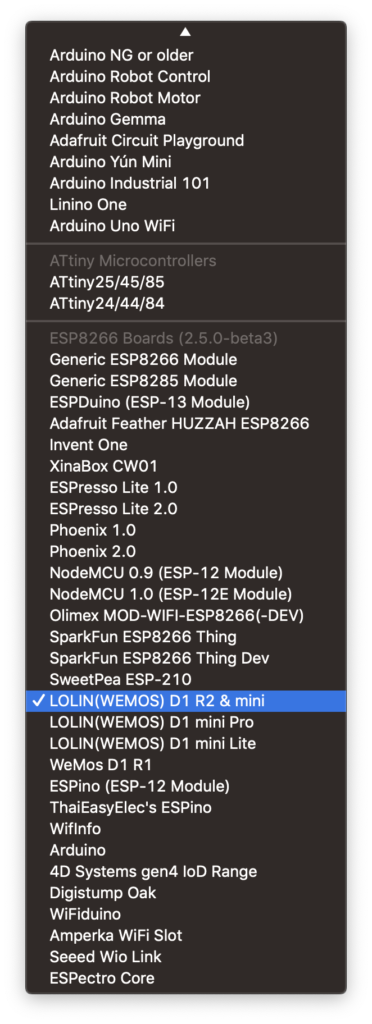
- Wemos D1 mini (know known as LOLIN
- 1 LDR
- 1 2k Resistor
- 1 3mm white LED
Software
- Arduino
- CH340 drivers for your operating system
- Add ESP8266 to your Board Manager
donblair. (2015, August 25). Turbidity 001. Retrieved January 18, 2019, from publiclab.org/n/12168
Open Water Project. (n.d.). Open Water Project. Retrieved January 28, 2019, from https://github.com/OpenWaterProject