Lab EC-sensor tests

Before using more EC probes in the field and gathering data from different parts of the stream I tested them in a controlled environment in the lab.

Experiment 1: 

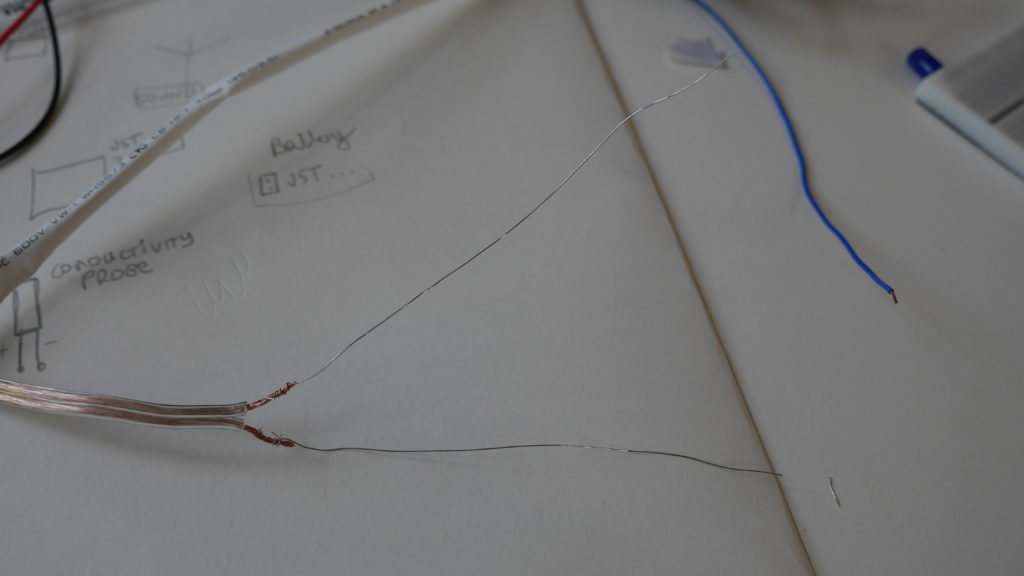
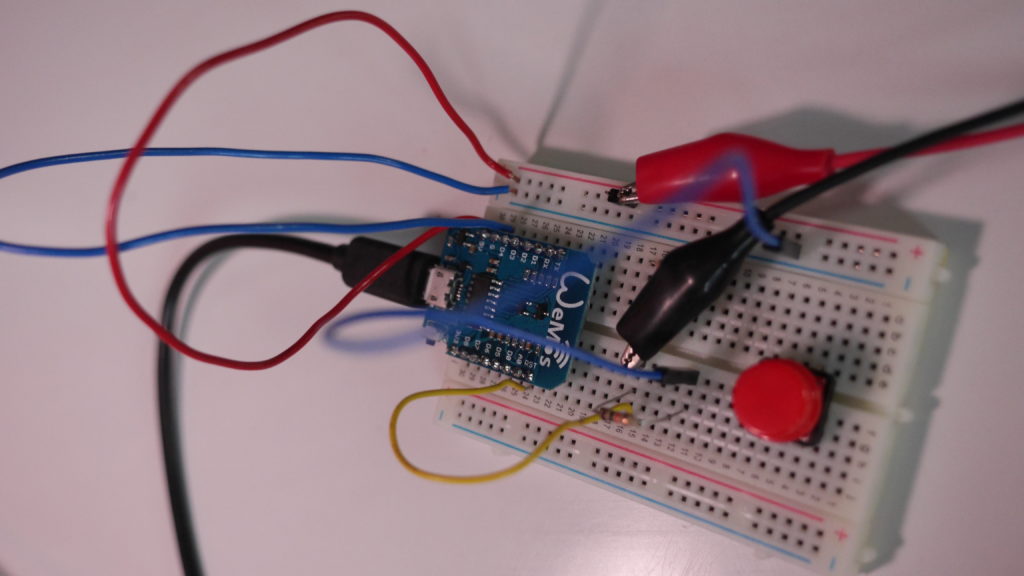
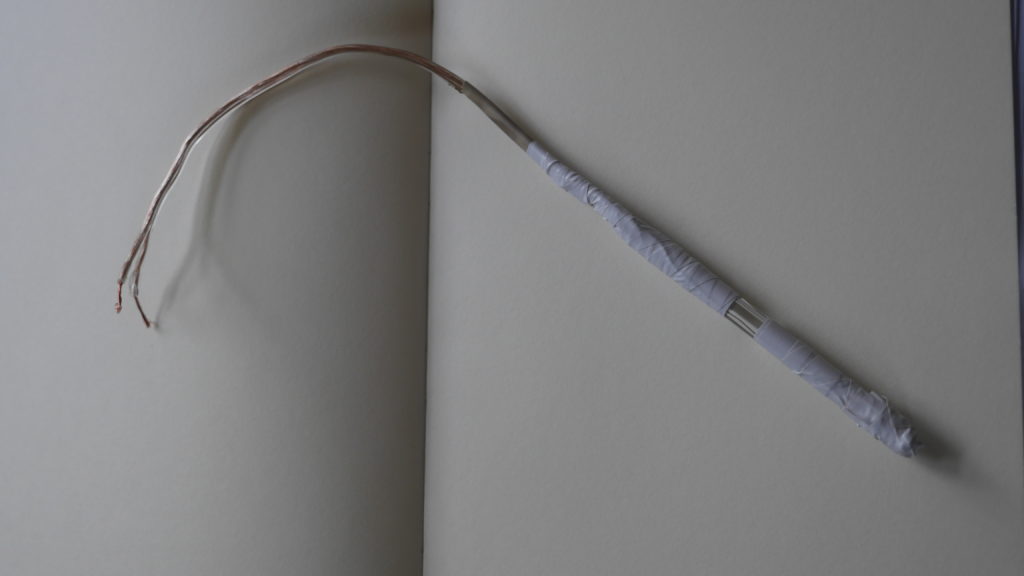
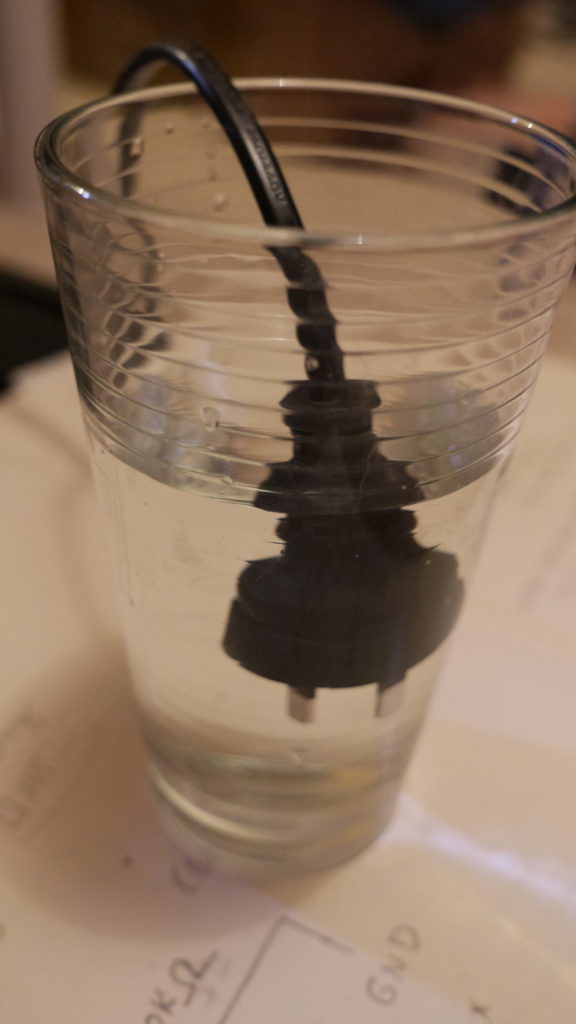
The two versions tested use the same materials, same length of chord and same 560 Ohm resistor. The first test involved a jar filled with tap water, immersing both sensors in the jar and monitoring the data via mosquitto_sub.

Jar filled with tap water for testing two DIY EC probes

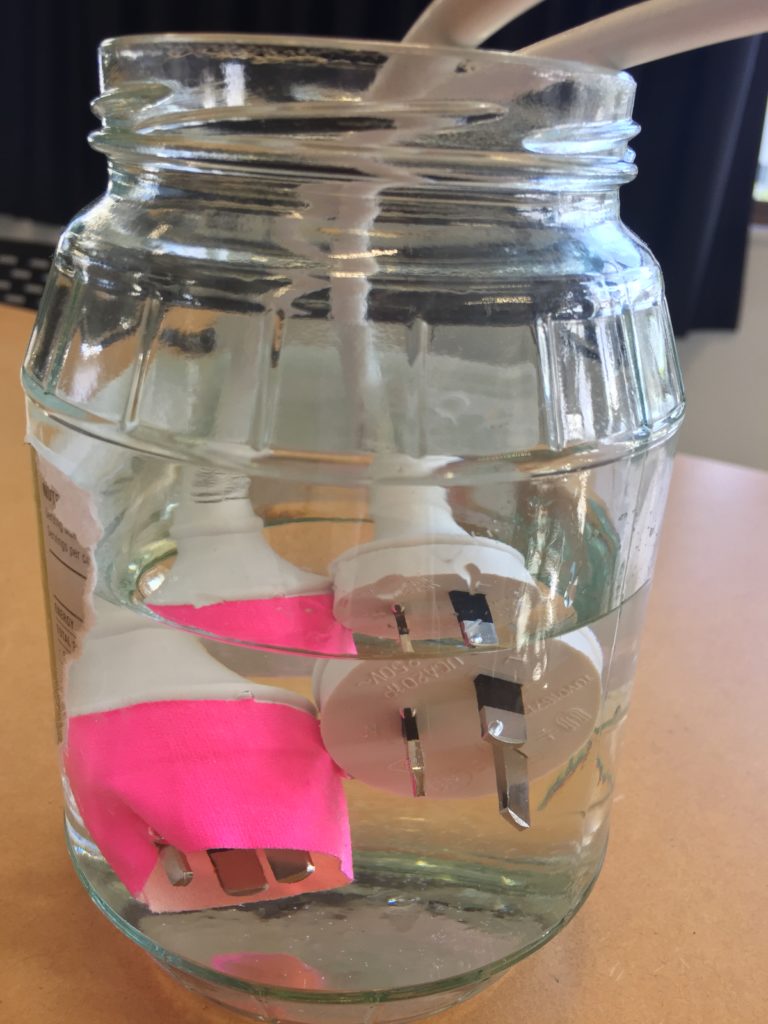
Note: The pink tape wrapped around one probe was an attempt to avoid the probe mistaken with a power plug on the lab table, which poses a severe hazard. The probes are stored away safely when unattended to ensure health and safety.  This version of the probe uses the Live (L) and neutral (N) prong of the plug. To improve the safety of the probe the live (L) prong should be removed and Neutral (N) and Ground (⏚) should be used for measuring the electric conductivity. 

The terminal output shows the EC probes publishing the measured values under the topics motorola/ec and moturoa/ecrua. While the test recording was done, the DHT11 sensor was also active in the lab, publishing air temperature (moturoa/atemp) and air humidity (moturoa/ahumid). Output showing values returned by two EC probes (moturoa/ec and moturoa/ecrua) and DHT11 sensor showing air temperature (moturoa/atemp) and air humidity (moturoa/ahumid)

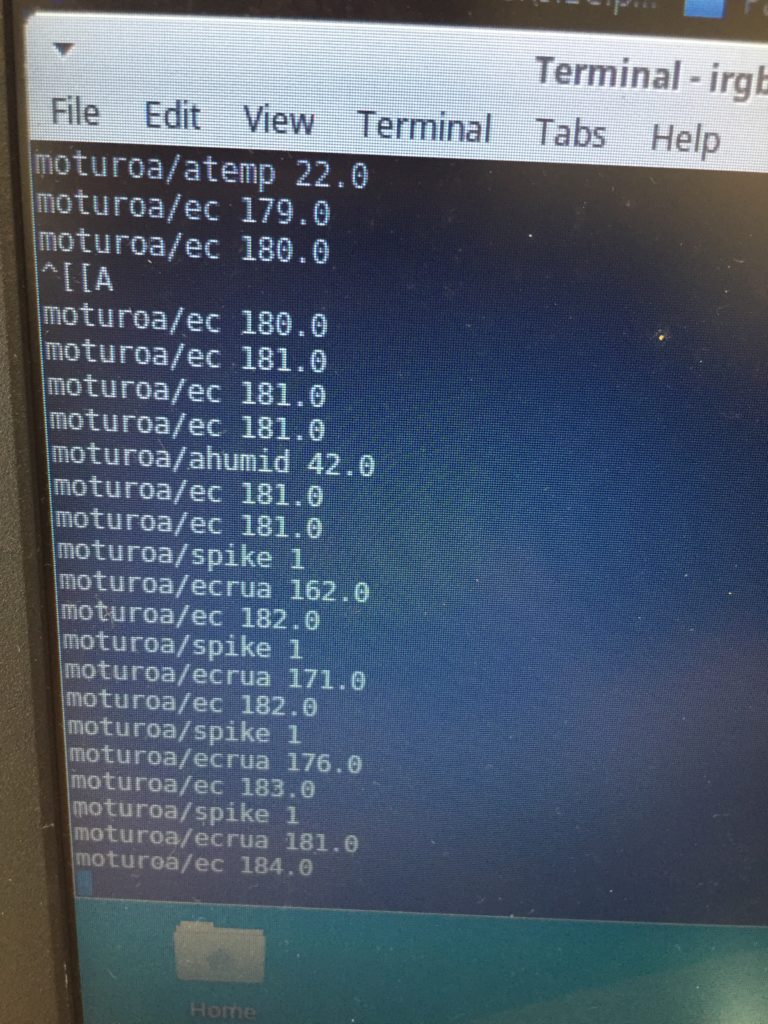
This first test showed a deviation of around 10 between both probes, behaving relatively consistent. The next test would require measurements in the stream to see whether the probes return coherent readings from flowing  water.

Experiment 2:

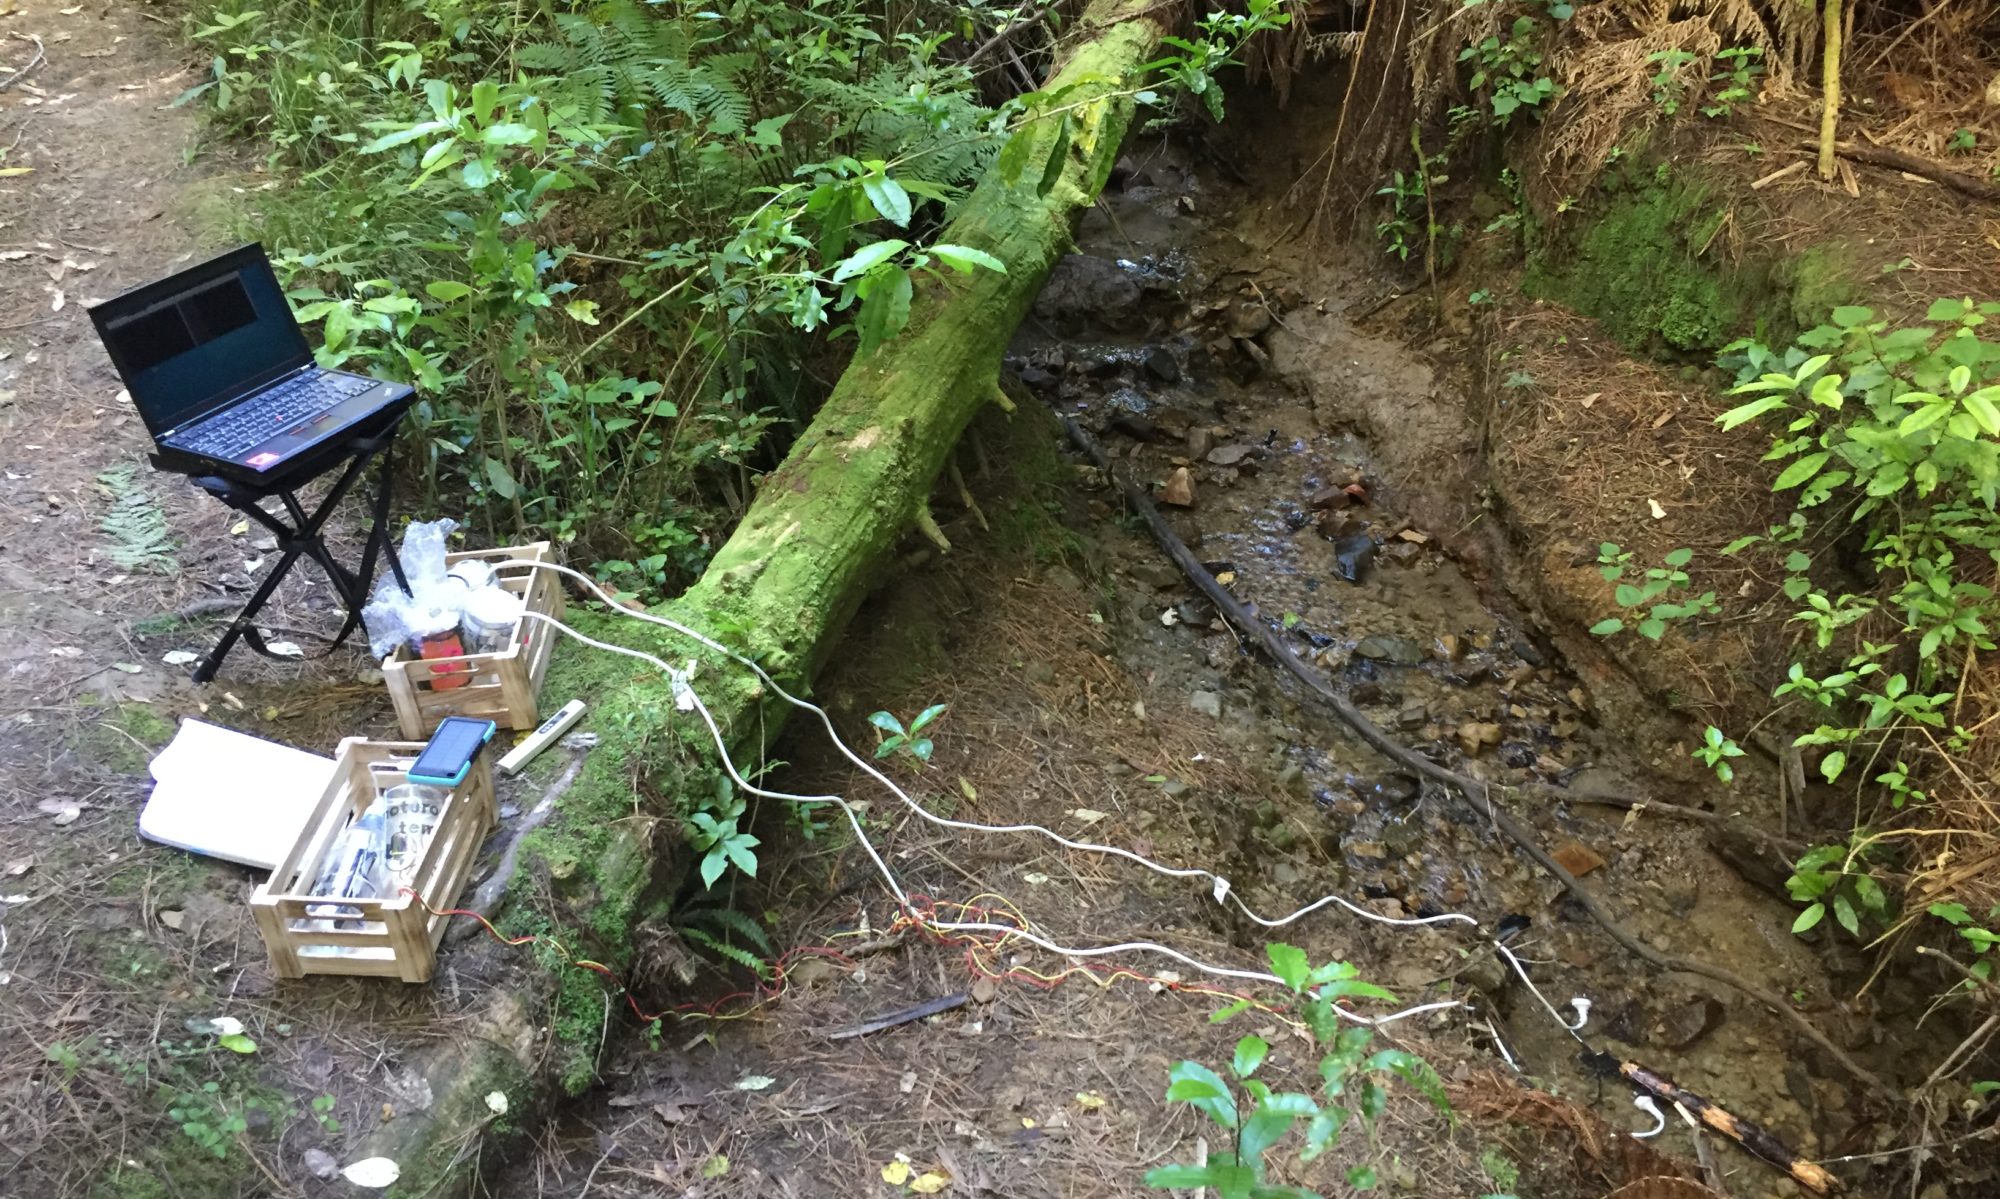
Due to bad weather and high winds it was too dangerous to conduct testing in the field. However, to get a better idea of the consistency between the two probes I went to an easily accessible part of the stream outside of the forested area and collected two samples of stream water. 

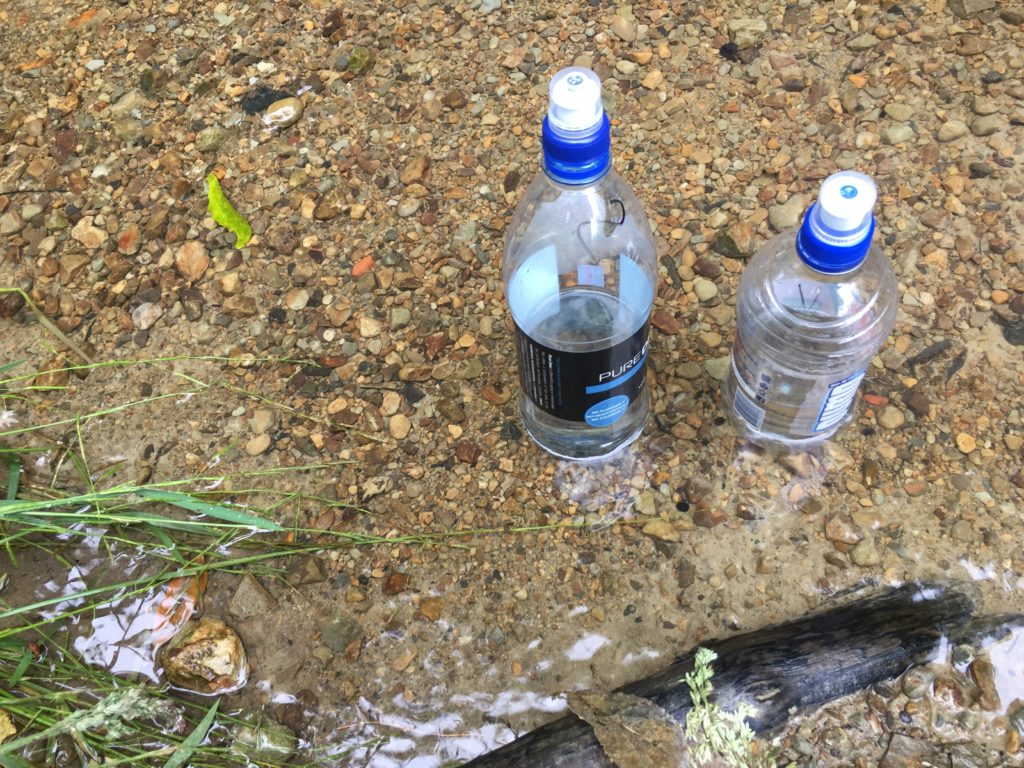
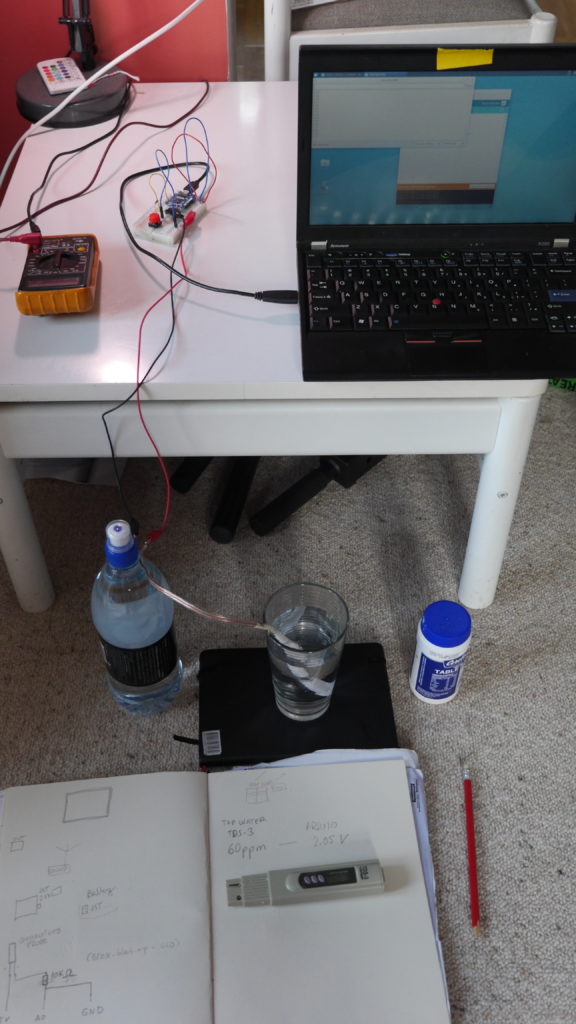
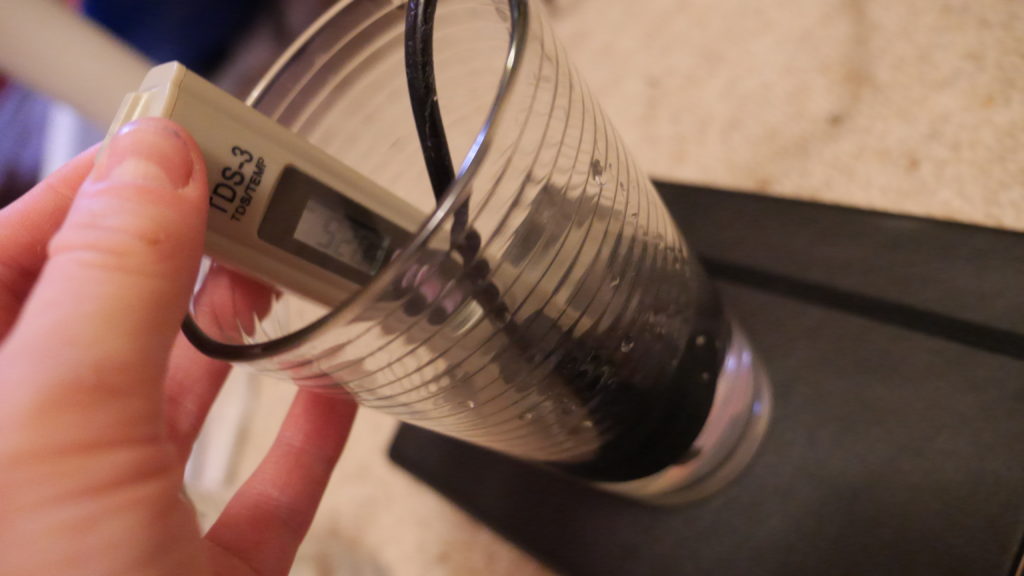
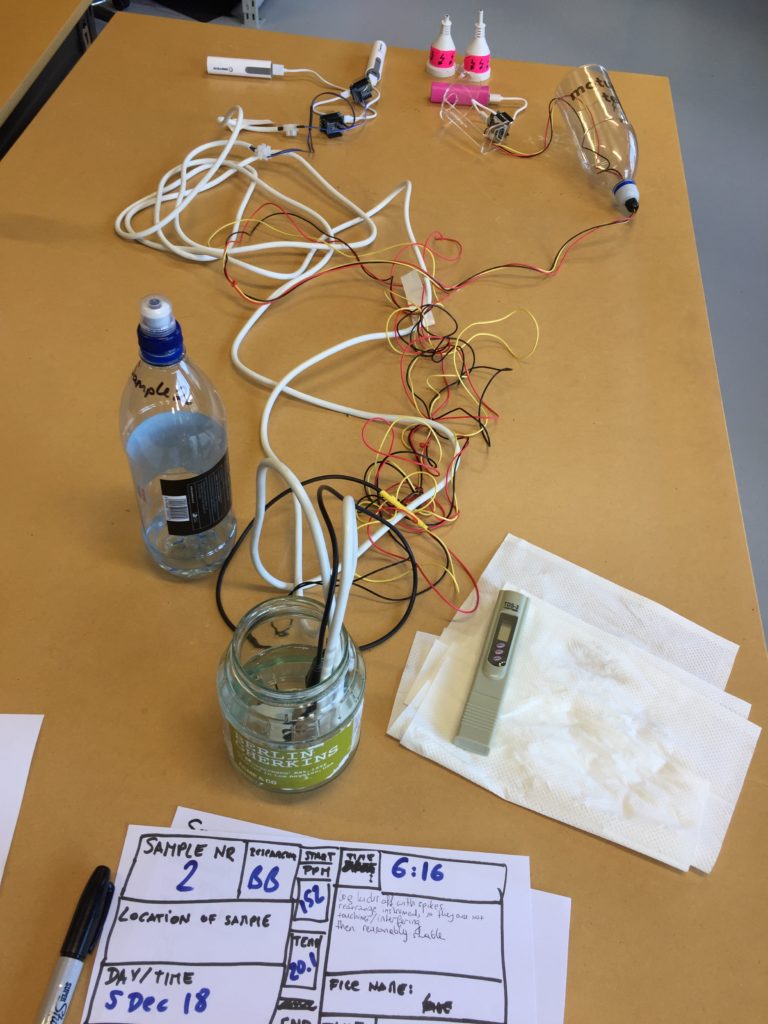
Back in the lab I pour the first sample into a clean jar that is big enough to contain all three sensors. I prepared a paper sheet for keeping experiment notes, starting with date/time, location of sample taken, last weather and readings from the TDS meter at the beginning and end of the test.

  1. I boot the Raspberry Pi (the Pi acts as Wi-Fi Access POint hosting the Moturoa_Transmissions network and acts as the MQTT-broker).
  2. Connect laptop to Moturoa_Transmissions and start log with timestamp
    mosquitto_sub -v -h 192.168.42.1 -p 1883 -t '#' | xargs -d$'\n' -L1 sh -c 'date "+%D %T $0"' > data.log
  3. Immerse probes into water sample and activate by connecting the Wemos D1 micro controllers to power supplies (USB batteries).

The raw data of both test results can be found on the development repository.

DIY Electrical Conductivity: Trial and Error

EC Version 1: Pens, Nichrome and too much tape

The first EC meter I built was based on the instructions by Practical Maker (2011). The probe involves two Nichrome resistance wire attached to an empty pen tube and covered with electrical tape.

The Nichrome wires are soldered to stranded core copper wire from an audio cable and connect via a 10kΩ resistor to the analog input of a Wemos D1 mini. 

For testing I would use the Wemos D1 mini in combination with a small breadboard and jumper wires and header pins connecting to alligator cables to hook up my probe to the micro controller and my computer.

For the test setup I initially submerged the probe in a glass of distilled water. I would read out the voltage via the Arduino Serial Monitor and note the voltage value down in my notebook. I would also take a reading with my TDS-3 meter and note the value down next to the voltage. I would add a measured amount of salt to the water solution and repeat this process.

While the initial voltage readouts looked promising, the material assembly of the probe proved problematic and generated inconsistent voltage readings.

The final assembled design of the first unsuccessful probe


The electrical tape trapped water in between the multiple layers which would generate inconsistent readouts. The probe would also still show conductivity once I lifted the probe from the water solution, which would only slowly drip from the parts and also slowly lift and move the electrical tape. To sum it up, this probe design was not only quite complex and flimsy, but also unreliable in terms of readouts. This meant I needed to look for another solution. 

EC Version 2: Repurposing a wall plug

In a very detailed blog post Ratcliffe (2015) described how to build a EC meter for Arduino for $3. His solution involved repurposing a Type A Two Prong american plug. I took one old New Zealand plug and connected it to my previous setup.

The appearance of a power plug suspended in a glass of water looked very strange from the start. However, the initial tests showed that the plug was an easy, hassle-free way of generating reliable voltage readings alongside the TDS meter.

Practical Maker. (2011). DIY EC Probe. Retrieved from https://www.youtube.com/watch?v=0NPtmHdbW3k
 
Ratcliffe, M. (2015, September 4). Three Dollar EC – PPM Meter. Retrieved March 19, 2019, from https://hackaday.io/project/project/7008-fly-wars-a-hackers-solution-to-world-hunger/log/24646-three-dollar-ec-ppm-meter-arduino